

Product pages are where purchase decisions are made. Customers who cannot clearly see a product from multiple angles, or who have no way to watch it in use, are more likely to hesitate and leave than customers who can browse a full visual gallery. WooCommerce’s default product gallery is functional but limited. It displays images in a static layout and offers no native support for videos or slider navigation.
Adding a proper image slider and video support to your product pages changes that. This guide walks through how to do it using the WooCommerce product gallery slider plugin, what each feature does, and how to configure it after installation.
Why the Default WooCommerce Gallery Falls Short
Out of the box, WooCommerce lets you upload a featured image and a handful of gallery thumbnails. Customers click a thumbnail to see a larger version, and that is mostly the extent of it. There is no sliding navigation, no video support, no lightbox with zoom, and no auto-play functionality.
For stores selling products where visuals matter, such as clothing, furniture, electronics, jewellery, or handmade goods, this default experience is a noticeable limitation. Customers want to see every angle, every detail, and ideally the product in action. A static thumbnail grid does not deliver that.
What the Product Gallery Slider Plugin Adds
The Product Gallery Slider for WooCommerce replaces the default gallery with a fully navigable slider. Here is a summary of what it enables:
- Image slider with auto-play: Gallery images display in a scrollable slider. You can enable auto-play so images advance automatically, which is useful for showcasing multiple product views without requiring any customer interaction.
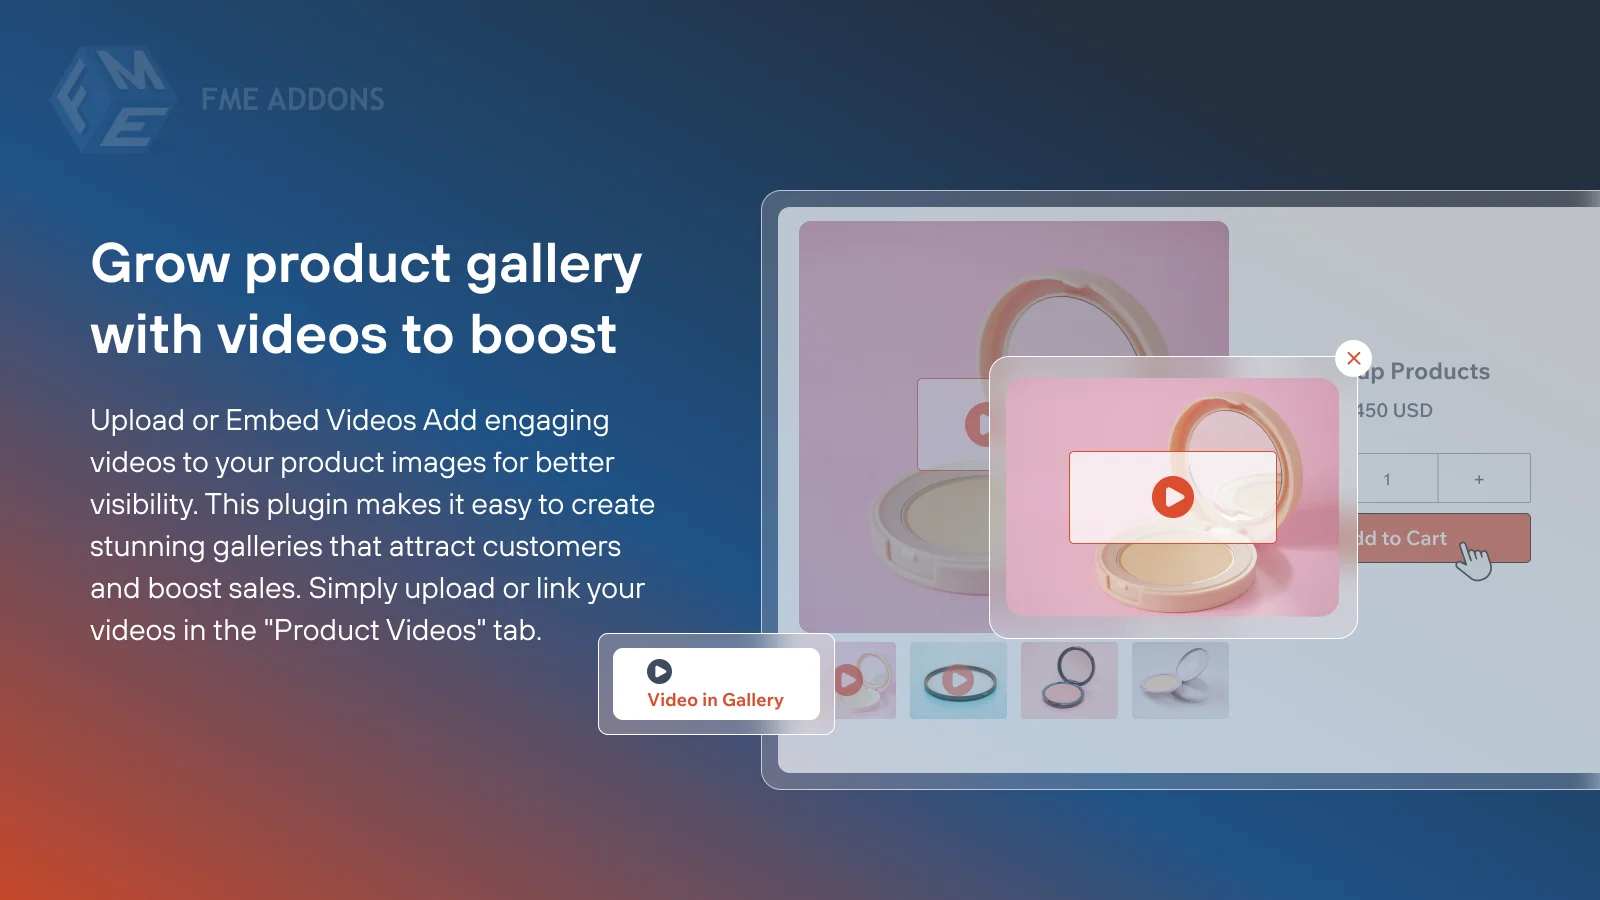
- Video support: Embed videos from a URL or upload them directly from your computer. Videos appear in the gallery alongside product images, giving customers a complete visual picture.
- Unlimited variation images: WooCommerce normally allows one image per product variation. The plugin removes that limit, letting you assign multiple images to each variation. When a customer switches between colour, size, or style options, they see a dedicated set of images for their selection.
- Lightbox view: Customers can open any image or video in a full-screen lightbox for a closer look without leaving the product page.
- Zoom functionality: Customers can zoom in on product images directly within the gallery to inspect fabric, texture, finish, or other fine details.
- Bullet and arrow navigation: Choose from multiple bullet shapes and positions, or use arrow navigation. Bullets can be placed inside the image, below it, or on either side.
- Three layout options: Horizontal, vertical left, or vertical right thumbnail positioning, each offering a different visual structure for the gallery.
How to Install and Set Up the Plugin
Step 1: Purchase and Install
Purchase the plugin from the WooCommerce Marketplace, download the .zip file from your account, and install it through WordPress Admin > Plugins > Add New > Upload Plugin. Activate after installation.
Step 2: Configure Global Settings
After activation, navigate to WooCommerce > Settings > Product Gallery Slider. Here you configure the default behaviour for all product pages. Key settings to work through:
- Choose your preferred gallery layout (horizontal, vertical left, or vertical right)
- Enable or disable auto-play and set the slide interval in milliseconds
- Choose bullet style and position or switch to arrow navigation
- Enable lightbox for full-screen image and video viewing
- Enable zoom and configure the zoom level
Step 3: Add Videos to a Product
To add a video to a specific product:
- Go to Products > Edit Product
- Click on the Product Videos tab in the product data panel
- Add a video by pasting a URL or uploading a file from your computer
- Click Add New URL to add additional videos to the same product
- Save the product
Videos will appear in the gallery slider alongside the product images.
Step 4: Assign the Slider to Specific Products or Categories
You do not have to apply the gallery slider to every product. The plugin lets you enable it for specific products or product categories only. This is useful if you have a mixed catalogue where some products have rich visual assets and others do not.
Adding Variation-Specific Images
If your products have variations, the plugin significantly improves the visual experience by allowing unlimited images per variation. To assign images to a variation:
- Go to the Variations tab in the product data panel
- Open the variation you want to update
- Upload or assign multiple images to that variation
- Save
When a customer selects that variation on the product page, the gallery updates to display only the images assigned to that specific option.
Configuring the Lightbox and Bullets
The lightbox opens when a customer clicks on any gallery image or video. Inside the lightbox, customers can:
- View the full-size image or play the video
- Zoom in on images
- Browse through thumbnails within the lightbox
- Close and return to the product page
Bullet navigation can be displayed inside the image, below it, or along the sides. Multiple bullet shapes are available. If you prefer a cleaner look without bullets, arrow navigation is an alternative that places left and right arrows on the slider itself.
Final Thoughts
A well-configured product gallery directly affects how confidently customers can evaluate a product before buying. The combination of a product gallery slider for WooCommerce, video support, variation images, and zoom gives customers the visual information they need to make a purchase decision without visiting a competitor’s site for a better look. The setup is straightforward and requires no coding.
