

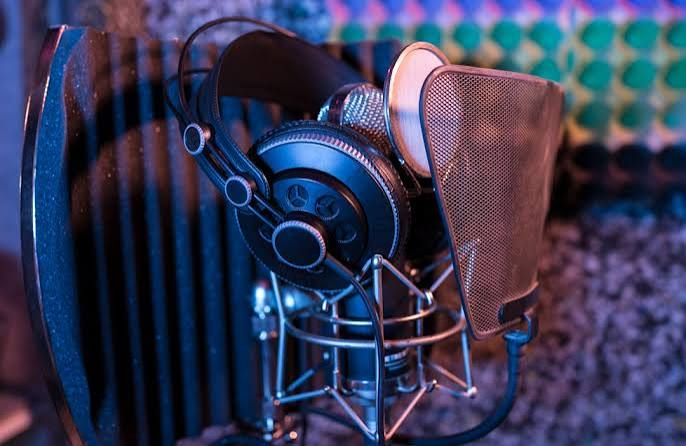
A home office is convenient for calls, courses, voiceovers, and videos, but it is rarely designed for recording. Computer fans create a steady hum, hard walls reflect speech, keyboards produce sharp clicks, and traffic can appear without warning. The solution is not to chase total silence. It is to capture a strong, natural voice that remains easy to understand after light editing.
The most effective workflow begins before recording and ends with a careful listening check. Every improvement made at the source gives noise-reduction software more useful speech to preserve.
Move the microphone closer
Distance is often more important than microphone price. A microphone positioned close to the speaker captures more direct voice and less room sound. Start roughly a handspan from the mouth and move slightly off-axis so breaths and hard consonants do not strike the capsule directly.
If the microphone must stay farther away for a video, use a small lavalier or a directional microphone placed just outside the frame. Raising the recording level to compensate for a distant microphone also raises fans, reflections, and street noise.
Reduce the noise you can control
Listen to the room before pressing Record. Pause an unnecessary fan, close the window, silence phone notifications, and move a laptop away from the microphone when possible. Soft furnishings, curtains, rugs, and a full bookshelf can reduce reflections without turning the room into a studio.
Some sounds should be managed rather than removed. A refrigerator may cycle on unexpectedly, while traffic and voices outside the room can change from moment to moment. Record a short test during the same conditions expected for the real session instead of assuming the room will remain quiet.
Protect the recording level
Set the input so normal speech has comfortable headroom. If the loudest words hit the maximum level and distort, the recording is clipped. Clipping removes information from the waveform, so cleanup may soften the harshness but cannot reliably recreate the original voice.
Wear headphones during the test. Check for low hum, hiss, mouth noise, desk vibration, and cable movement. Ten seconds of careful listening can prevent an hour of repair work.
Apply cleanup conservatively
Keep the original file and process a copy. Start with a representative section containing both speech and pauses. A tool such as Noise Remover can help reduce common background sounds in an audio or video recording, but the result still needs human review.
Compare the processed sample with the original at matched volume. If consonants sound watery, breaths disappear abruptly, or room tone pumps between phrases, the processing is too aggressive. Clear speech with a faint natural background usually sounds better than artificial silence.
Review on ordinary devices
Headphones reveal artifacts, but many people will hear the final recording through a phone or laptop. Test both. Confirm that speech stays understandable at a moderate volume and that noise does not become distracting during pauses.
Save a repeatable room setup
When a setup works, photograph the microphone position and note the input level, room, time of day, and devices that were running. This small record makes the next session faster and helps explain why two recordings sound different. It is especially useful for recurring tutorials or client videos, where a sudden change in tone can be more noticeable than a small amount of consistent background sound.
A strong home-office recording comes from a simple order: improve microphone position, control obvious noise, leave headroom, capture a test, and then use restrained cleanup. This approach will not turn every room into a vocal booth, but it can produce dialogue that feels clear, consistent, and comfortable to listen to.
